Sometimes it might be necessary to show a message to the end users of your Power BI report. This means that when user A opens the report she will see the specialised message 1 and when user B opens the report he will see message 2 which is defined for him. This is a common situation, but less discussed. This blog will focus on creating a custom message in Power BI reports. I strongly recommend you to watch the related video on Hogolytics YouTube channel to completely understand the subject.
This blog is an example based tutorial which can help you to see the usability of custom messaging.
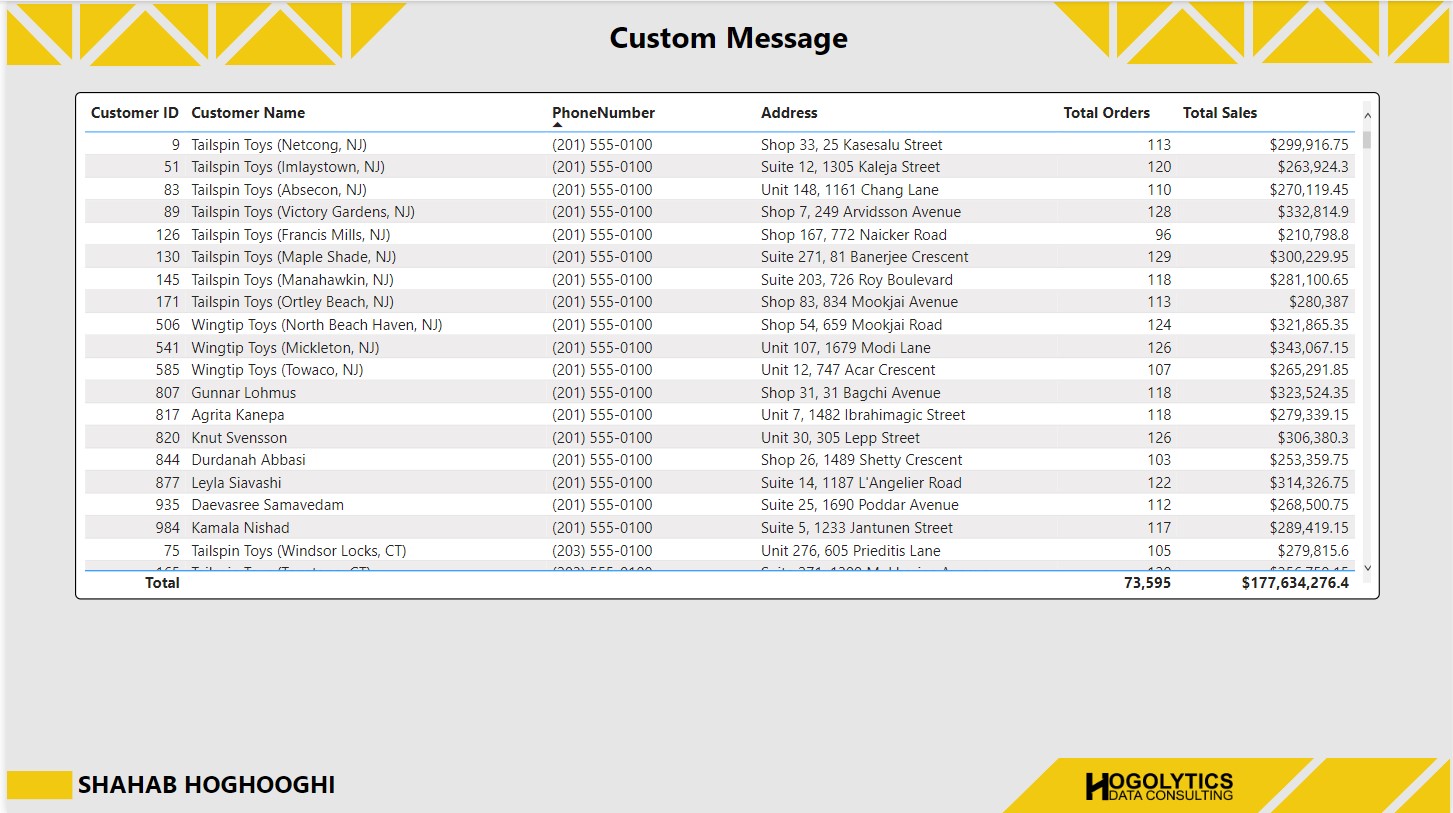
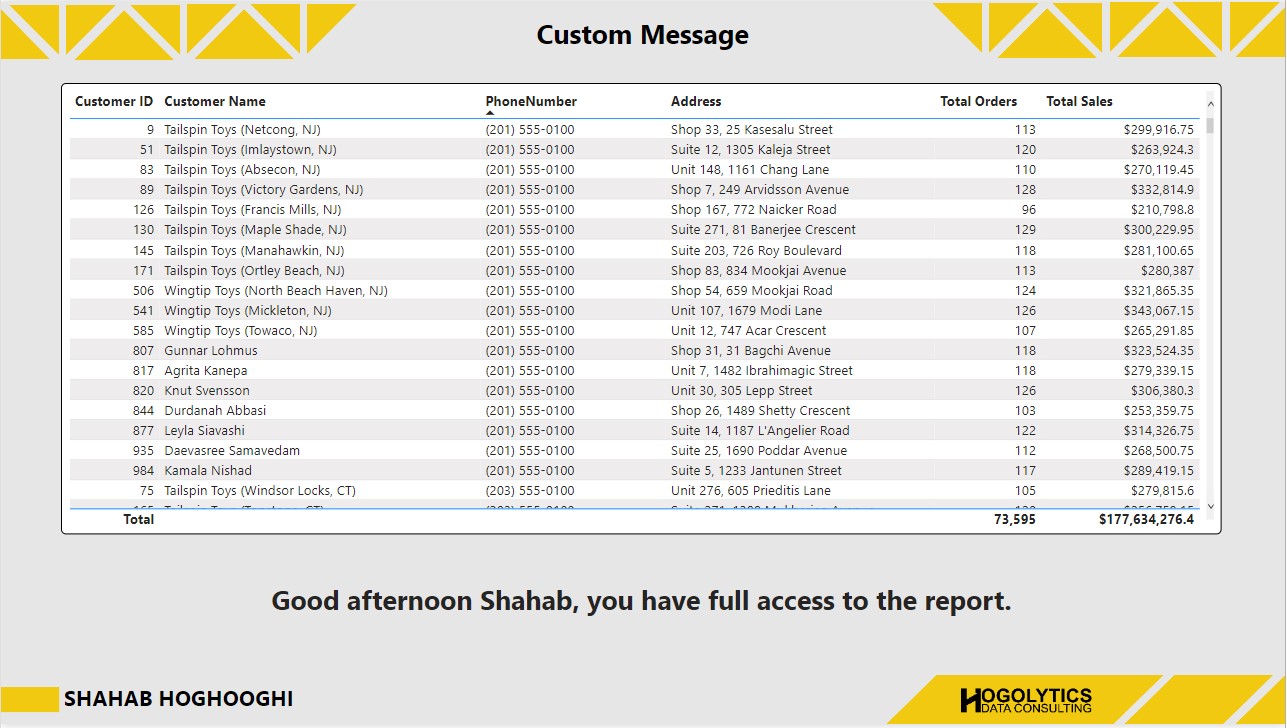
So, assume that we have a simple report like the below image which shows the customers information of a company.
The end users may have different access to the report. In this case some of them, such as the managers, developer team, analysts, and marketing teams, are authorised to see the customers information content. On the other hand, some end users, such as logistic team and HR team, are not allowed to see the customers information. So, customers information is restricted for this 2nd group and when they open the report, the should see an empty table. How you can filter data based on the roles is the topic which was discussed in the Row Level Security blog. You can also watch the related YouTube tutorial which is recommended to solve any remaining questions.
What I’m going to do here in this tutorial is showing a custom message below the table which tells the end users that they’re an authorised or a restricted user.

To do this, we should have a list of users. Power BI considers users emails for the security access level, including when row level security is applied.
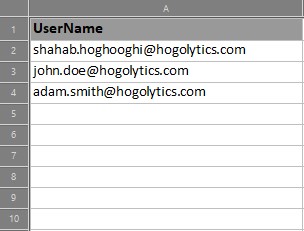
In this example we consider that we have a list of users with 3 entry in the User table.
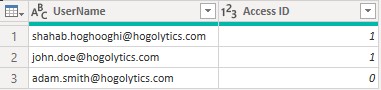
First this we should import the list into Power BI and then open power query editor to add another column if previously was not defined. So, from the Add Column view, we choose conditional column, and create another column for “Access ID”. Then we will define different access levels to our users.
In this example, the first 2 users are authorised users and we will allocate “Access ID” = 1 to them and the 3rd user is restricted and we will allocate “Access ID” = 0 to them.
Then, we should set the row level security for authorised and restricted users (to learn how to set and use row level security please visit the related article). So, when restricted users open the report the content of the table will be filtered for them, and they cannot see the report.
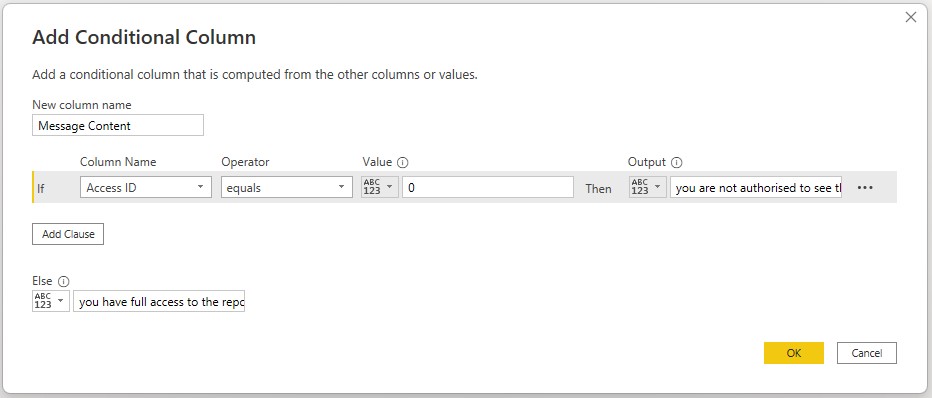
The first step to create a custom message is to add another column to Users table for the message content (Please notice that you can also use DAX expression and define the message content in a measure based on the Access ID but in this example we’re using a conditional column). We have different message contents for the authorised and restricted users:
For restricted users: “you are not authorised to see the report content.”
For authorised users: “you have full access to the report.”
So, we create a conditional column based on the Access ID column and allocate these values to the new column, Message Content.
The next step is creating a measure for the message value. So, after saving and closing the power query editor, we should create a measure and write:
Message Value = LOOKUPVALUE( Users[Message Content],
Users[UserName],
USERPRINCIPALNAME()
)
This measure compares the USERPRINCIPALNAME() with the Usernames in the Users table, and when they are equal, then return the related message content.
Please notice that USERPRINCIPALNAME() is a function which shows the user name of the currently logged users.

Consider that our user principal names (users email) in the company’s system is like:
firstname.lastname@domainname.com
We can extract the first name of our users from their emails. So, we should write this DAX measure:
User First Name =
VAR __delpos = FIND ( “.”, USERPRINCIPALNAME(), 1)
VAR __Name = LEFT(USERPRINCIPALNAME(), __delpos – 1)
RETURN
UPPER(LEFT(__Name, 1)) & RIGHT(__NAME, LEN(__NAME) -1)
This measure first finds the position of the delimiter which is “.” here. Then extracts the characters before this delimiter, and then returns this characters with the first letter in CAPITAL.

It is also valuable to say greeting to the users in the message, So, we write this measure:
Greeting =
VAR __TIME = HOUR(NOW())
RETURN
IF(__TIME <= 12, “Good morning”,
IF(__TIME <= 18, “Good afternoon”,
“Good evening”))

And the last step is concatenating all these measures together to create the final message. To do that we should write this measure:
Message = [Greeting] & “ ” & [User First Name] & “, ” & [Message Value]

Now we can create a card visualisation, drag the Message measure into it and edit card format (remove the background, change font type and font size, etc).
When you drag the Message measure you will see the card shows error without the correct content. This happens because you’re in a developing environment. But when you publish the report and different users open the report, they will see the related message.
To test, from the Modelling tab, open View as.

Then check the “Authorised users” (the row level security defined for authorised users) and “Other users” and in front of it write the email of one of the authorised users. Then press on enter and you can see the table shows the content and the message for authorised users will be shown below the table.
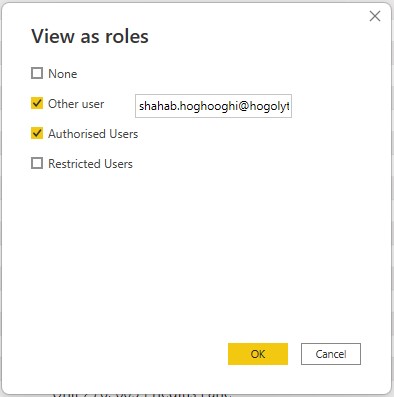
The same happens if you choose “Restricted users” row level security. In front of “Other users” write the email for one of the restricted users and press OK. Then, we can see the table will be filtered for them and the message will be changed for this group.

Hope you enjoyed this article. I’d appreciate if you comment your viewpoints and questions below, follow this blog and subscribe the YouTube channel for the next upcoming videos.