
In the previous blog post I described how you can easily create a Dim Date (Calendar) table in Power BI when you are dealing with date information. This post is the continue of “DIM DATE Blog Post” and I recommend you if you are not familiar with creating the dim date table in Power BI using M Power Query, first read that article and then come back here to complete the dim date table with the fiscal date information. Also, watching the related video on Hogolytics YouTube channel can help your deep understanding.
In the image below you can see the dim date table we created together in the previous tutorial. All you know that dim date tables are essential elements for most reports and most of the Power BI developers need it to join with their Fact tables.
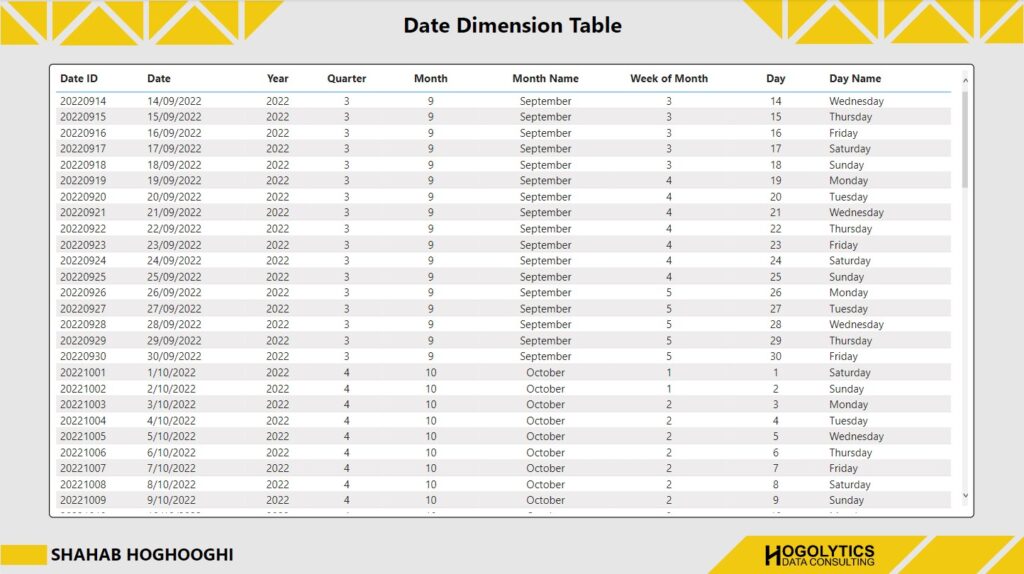
In this article I’ll tell you how easily you can add fiscal year information to your Dim Date tables. This can be helpful in many reports especially which are representing financial information.
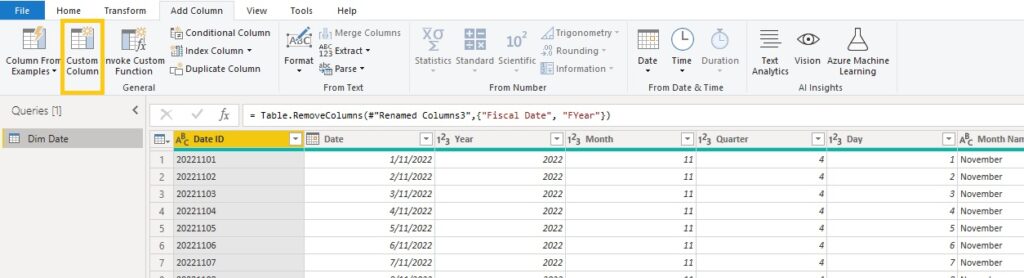
To start you need to go to Home tab and choose “Transform Data” to open the edit query mode.

Then, click on the dim date table, and from the “Add Column” tab, choose custom column.
Name the new column to Fiscal Date. You should notice that we don’t have a real fiscal date. I just named it to use in other calculations and at the end I’ll remove it.
In most countries the financial year starts from July each year, and so it has a 6 month difference with the real calendar date.
So, in the formula pane, write:
Date.AddMonths([Date], 6)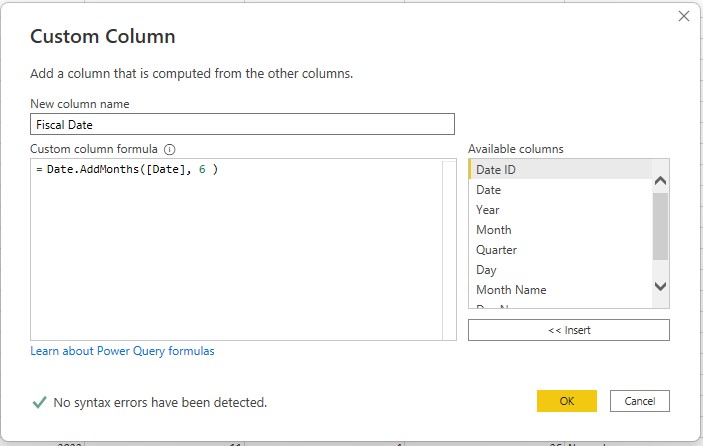
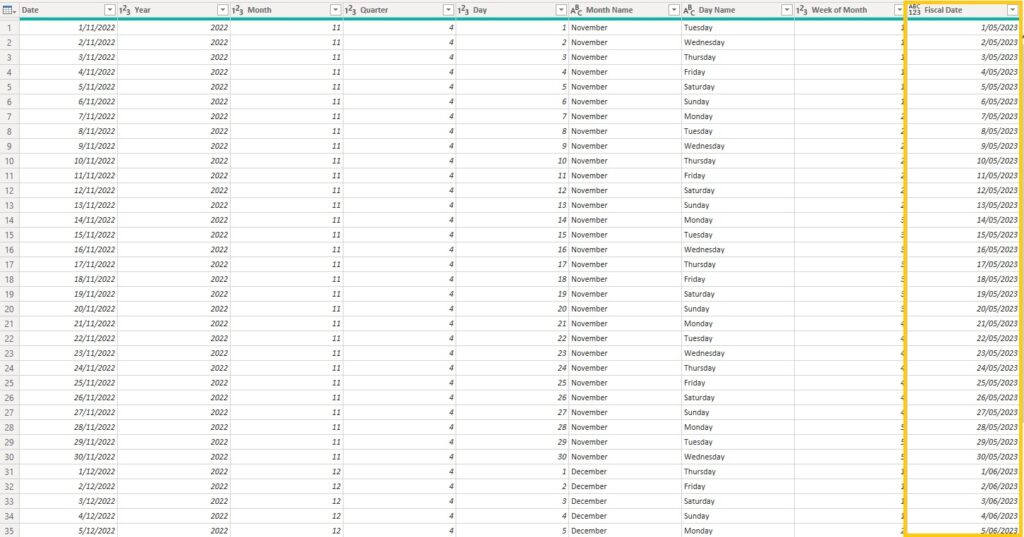
Now we have a new column named Fiscal Date with date 6 months after the real date. Don’t worry for now we will use this date only for calculations.
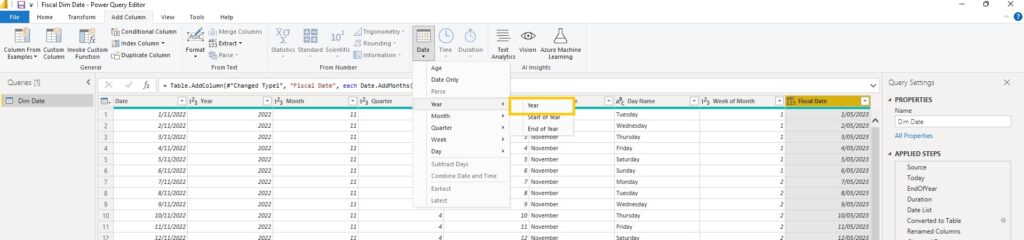
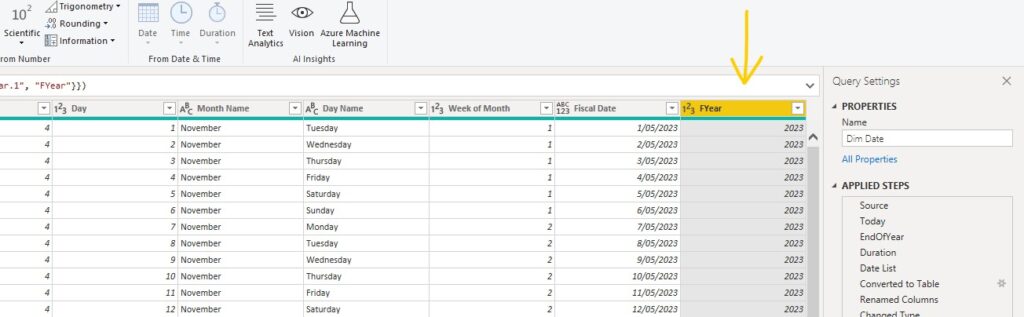
Now similar to what we did previously in the last tutorial, click on Fiscal Date column, and from the “Add Column” menu, choose Date, and then from the options choose year, and again year. Name this column as Fyear.
Now add a custom column from Add Column menu, name it to Fiscal Year, and in the formula pane write:
“FY ” & Number.ToText([FYear] - 1) & " - " & Number.ToText([FYear])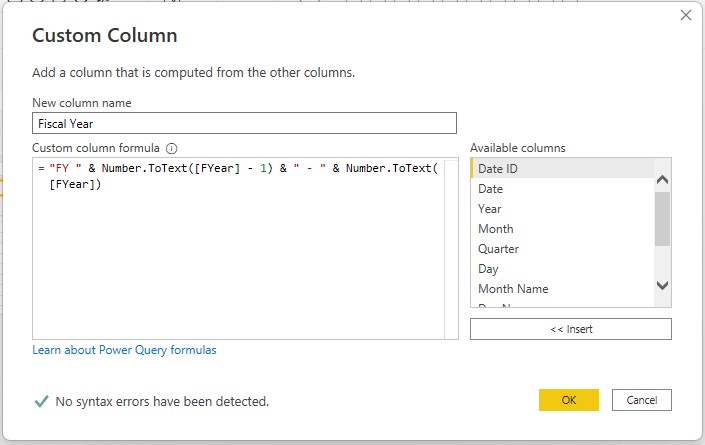
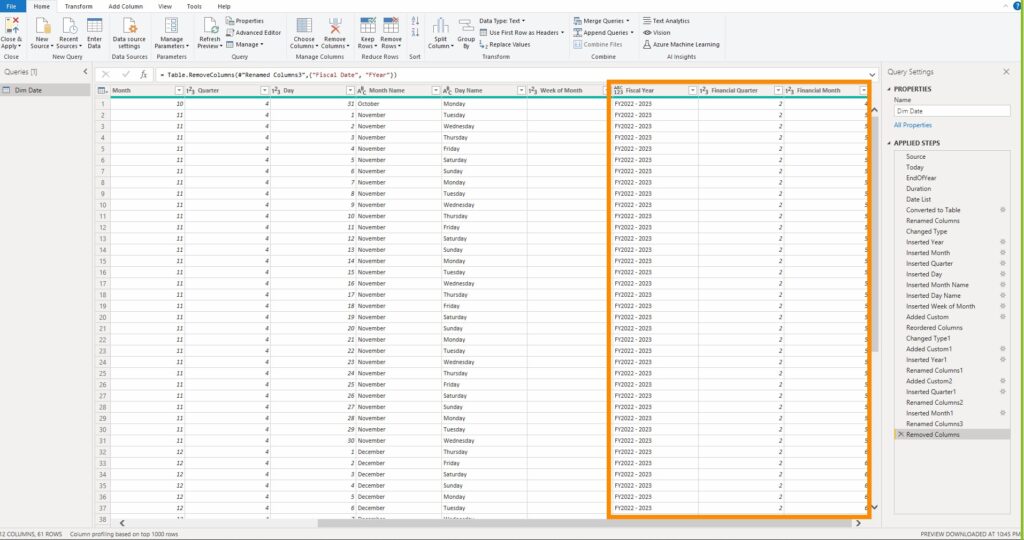
Now you can see we have a column which shows the financial year. For example, FY 2022- 2023.

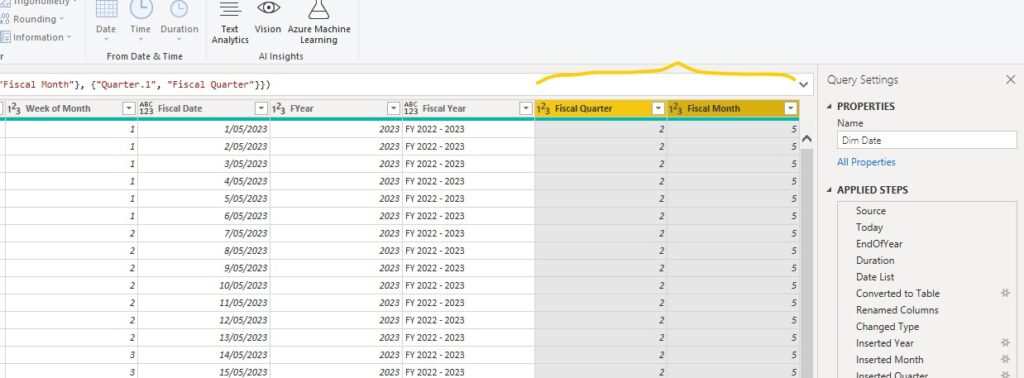
You can also extract the quarter of the financial date. Click on the Financial Date column and then the same we did earlier extract quarter and name it to Fiscal Quarter.
And finally, we can add Fiscal month by extracting the month number from Financial Date.
What we shouldn’t forget at the end, is removing the Fiscal Date and FYear columns.
Now you have the required information in your Dim date table, and you can easily use it in your reports.
Hope you enjoyed this article.
Feel free to put comments and be in touch with through info@Hogolytics.com or my LinkedIn page. I strongly recommend you to subscribe the Hogolytics YouTube channel to watch all the tutorials and learn Power BI topics in depth.
Gracias por compartir